
Email Setup
Apple Mail OS X - Add New POP Email Account
This article will show you how to setup email in Mail on Apple OS X. While the screen shots are from Mail 7.3, the same settings should work for other versions of Mail.
If you don't feel comfortable making these changes or you simply prefer us to do it, we can set up your email accounts remotely using TeamViewer. The cost for this service is $10.00 per email account.
Adding a POP email account
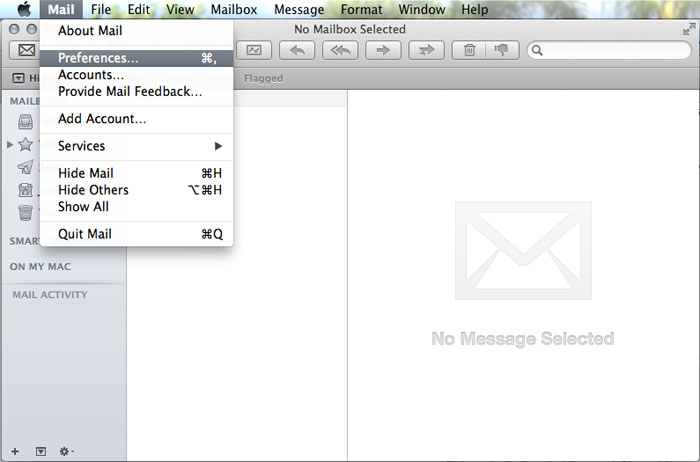
- Open Mail.
- On the top menu, click Mail, then Preferences.
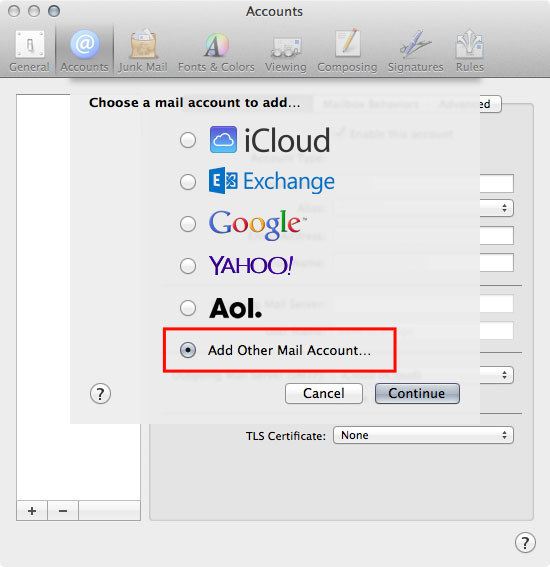
- Click the plus sign (+) in the lower left corner of the window.

- Click the button for Add Other Mail Account...
- Enter your basic account information.
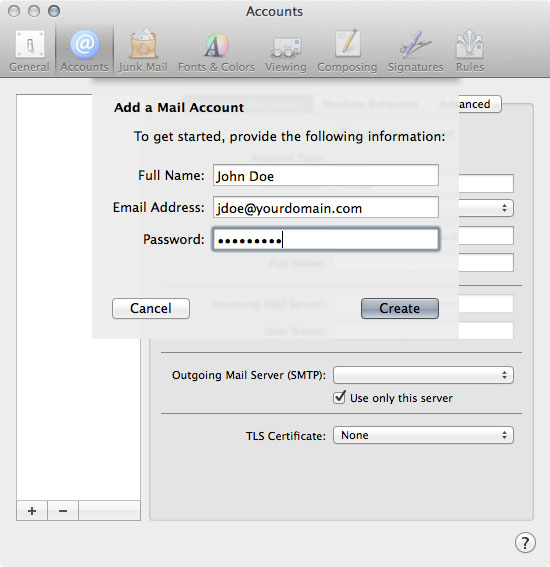
- Enter your Full Name.
- Enter your Email Address for the account your are setting up.
- Enter your Password for the account your are setting up.
- Click the Create button.
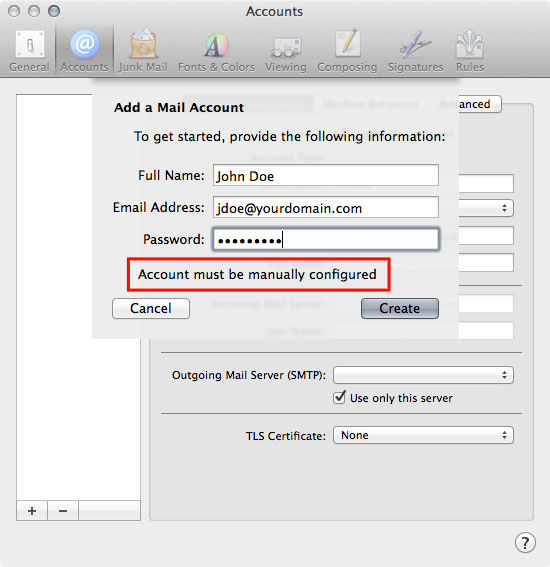
- Mail will check to see if it can automatically set up your account. You should see a message that says, Account must be manually configured. Click the Create button again.
- Choose POP as your Incoming Mail Server Account Type.
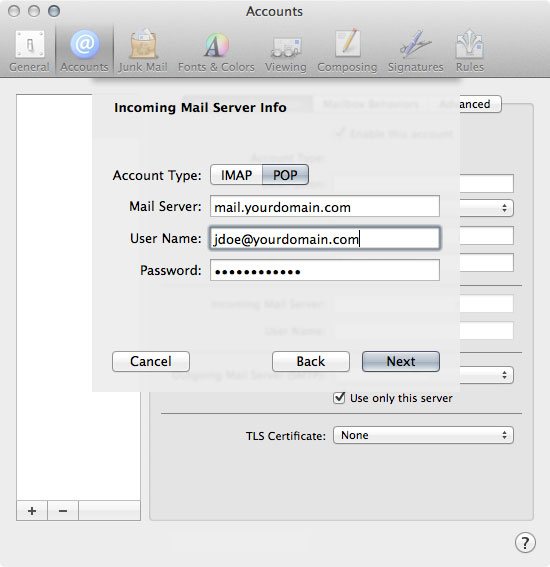
- The Mail Server box should say mail.yourdomain.com.
- The User Name box should have your full email address in it.
- The Password box should have your password in it.
- Click the Next button.
- Mail will attempt to verify your settings. At this point you should see a Verify Certificate warning message. This is normal. Click the Connect button.

- Enter your SMTP Outgoing Mail Server information.
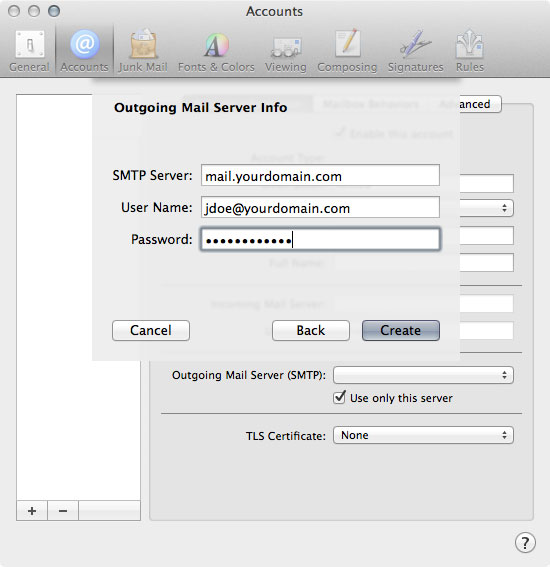
- The SMTP Server box should say mail.yourdomain.com.
- The User Name box should have your full email address in it.
- The Password box should have your password in it.
- Click the Create button.
- Click the Mailbox Behaviors tab.
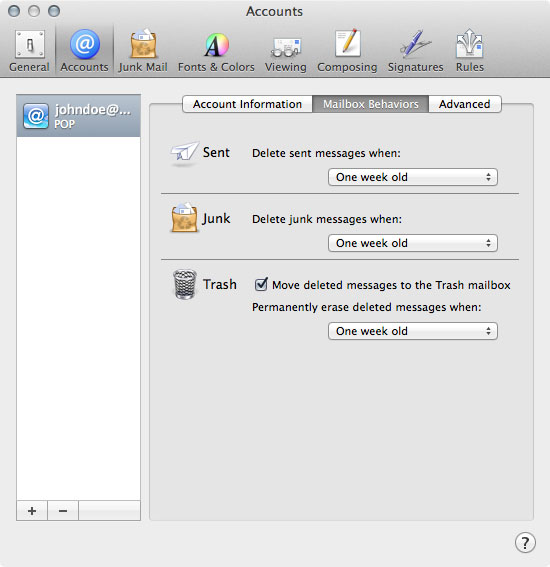
- These are not required changes. You can set the messages to be deleted as you prefer.
- Click the Advanced tab.
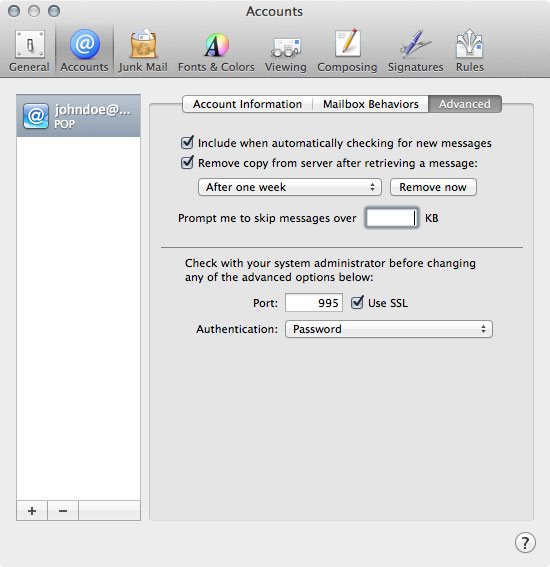
- The Include when automatically checking for new messages box MUST be checked.
- The Remove copy from server after retrieving message: box should be checked unless you are removing the messages from the server on another device.
- The dropdown box should be set to no more than After one week. Please see the Warning about storing emails on the server in the POP Incoming Email (Standard) section on the Questions page.
- The Port box MUST be 995. Check the Use SSL box.
- In the Authentication dropdown box, select Password.
- Click the Account Information tab.
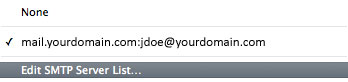
- Click the Outgoing Mail Server (SMTP) dropdown box.
- Click Edit SMTP Server List....
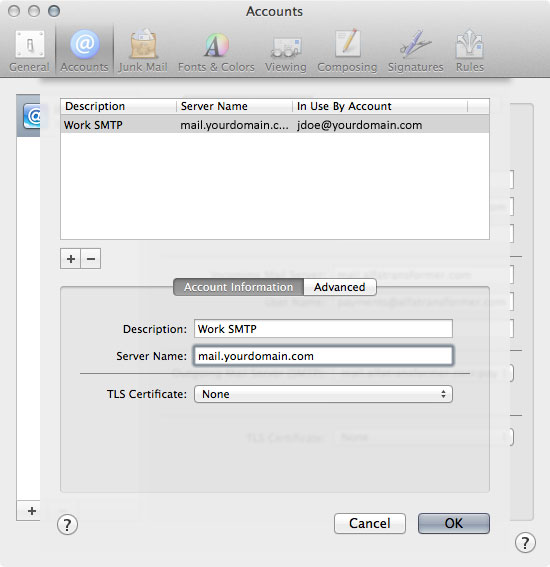
- Click the Account Information tab.
- Enter a description for the account. It can be anything.
- The Server Name MUST be mail.yourdomain.com.
- The TLS Certificate box can be None.
- Click the Advanced tab.

- Click the button for Use custom port.
- In the box next to Use custom port, enter 465.
- Check the Use Secure Sockets Layer (SSL) box.
- In the Authentication dropdown box, select Password.
- The User Name box MUST have your full email address in it.
- The Password box MUST have your Password in it.
- Click OK.
- The first time you send mail you may see the message below:.
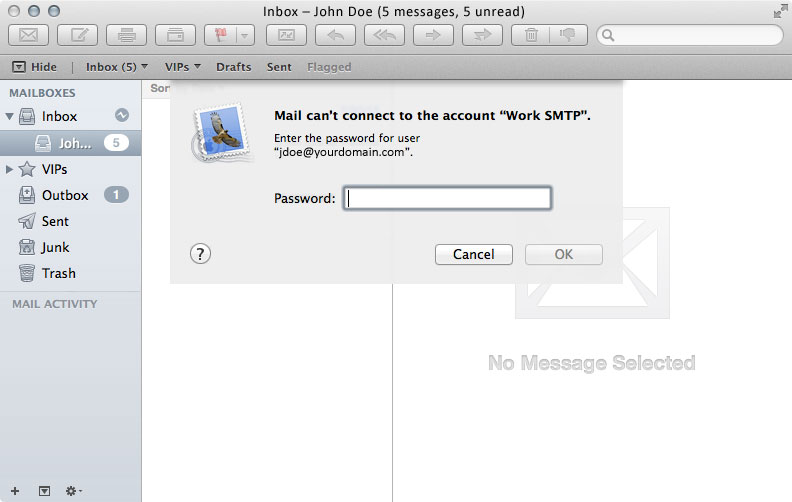
- Enter your Password in the box. Mail should save it so you won't have to do this again.
- Click OK.
Mail is now correctly configured to send and receive emails.