
Email Setup
Android Email App - Add New POP Email Account
This article will show you how to setup email on your Android device. These instructions are for the Email app, not Gmail. While the screen shots are from a Samsung Galaxy S6, the same settings should work on virtually any Android device.
How to configure your Android device
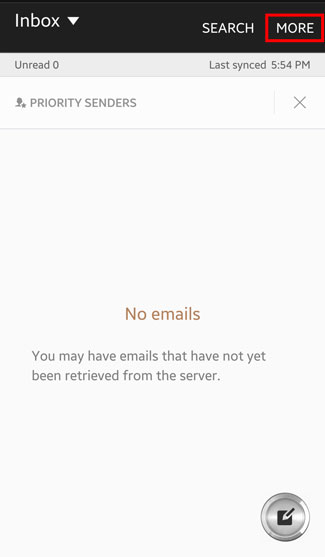
- Open the Email app on your Android device (not Gmail).
- Tap More
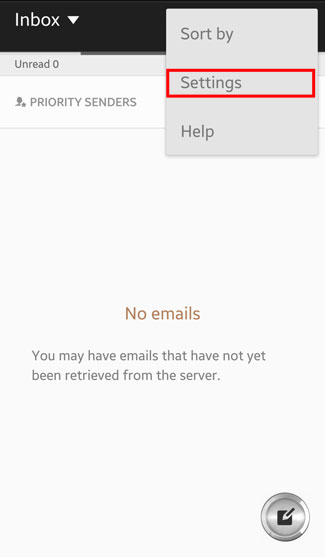
- Tap Settings
- Tap Add Account
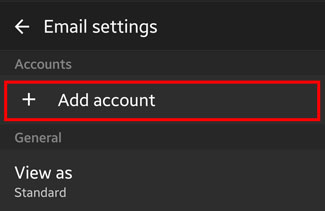
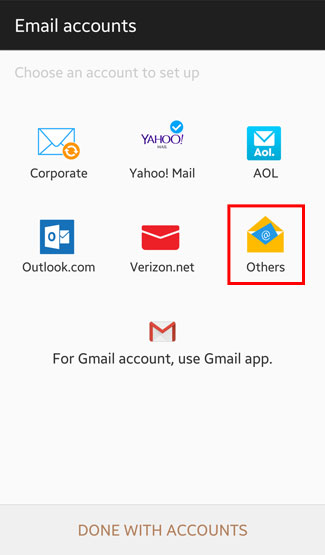
- Tap Others
- Enter your account information.
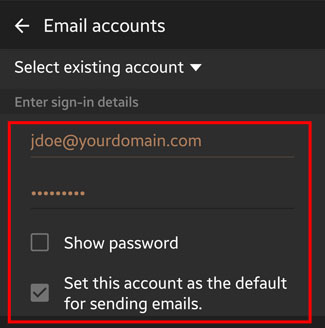
- Enter your Email Address and Password for the account your are setting up.
- You can tap Show Password to help ensure you enter it correctly.
- You can also tap the checkbox for Set this account as the default for sending emails if it will be your main email account.
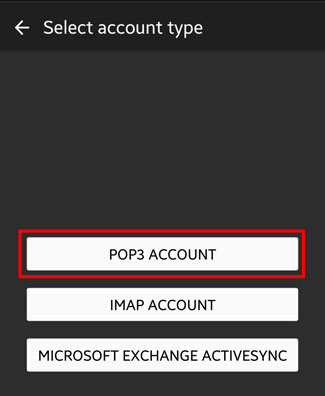
- Tap POP3 ACCOUNT.
- Enter your Incoming Server Settings.
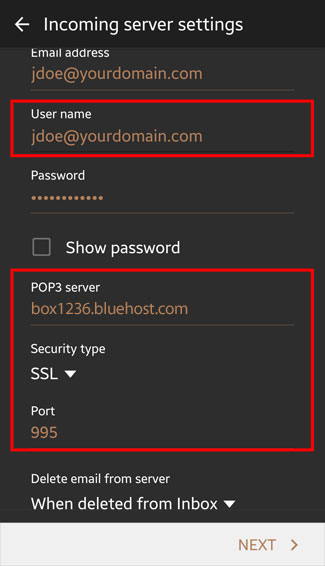
- You will probably need to change your User name. It must be your FULL EMAIL ADDRESS.
- In the POP3 server box, enter box1236.bluehost.com.
- In the Security type dropdown, choose SSL.
- In the Port box, enter 995.
- DO NOT change Delete email from server setting. It should be When deleted from Inbox. If you are deleting your email from the server on another device, you can change this setting. Please see the Warning about storing emails on the server in the POP Incoming Email (Standard) section on the Questions page.
- Enter your Outgoing Server Settings.
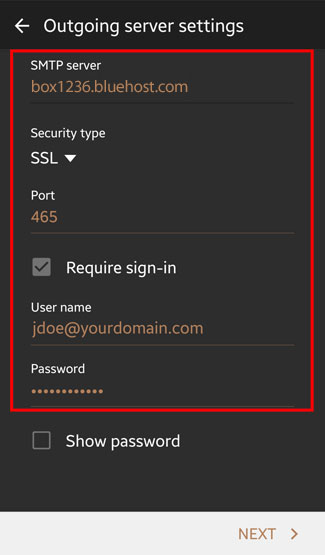
- In the SMTP server box, enter box1236.bluehost.com.
- In the Security type dropdown, choose SSL.
- In the Port box, enter 465.
- If your User name (full email address) and Password are not already shown, enter them here.
- Again, you can tap Show Password to help ensure it is entered correctly.
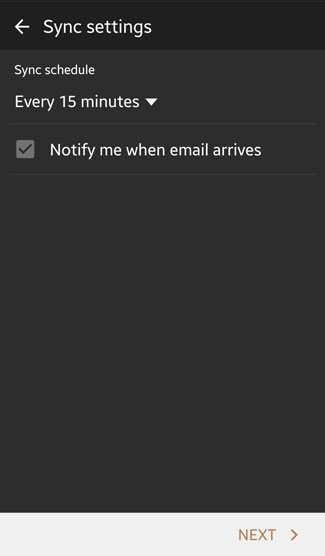
- No changes needed for the Sync settings. Tap NEXT.
- Enter Account names.
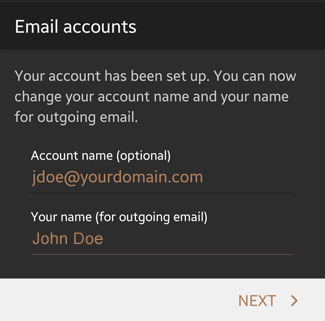
- These are not required changes. These names can be anything you prefer. However, anyone you send email to will see the name you enter under Your name (for outgoing email) In the example above, it would typically appear as:
"John Doe <jdoe@yourdomain.com>". - Tap NEXT and you are finished.
- These are not required changes. These names can be anything you prefer. However, anyone you send email to will see the name you enter under Your name (for outgoing email) In the example above, it would typically appear as:
Your Android device is now correctly configured to send and receive emails.